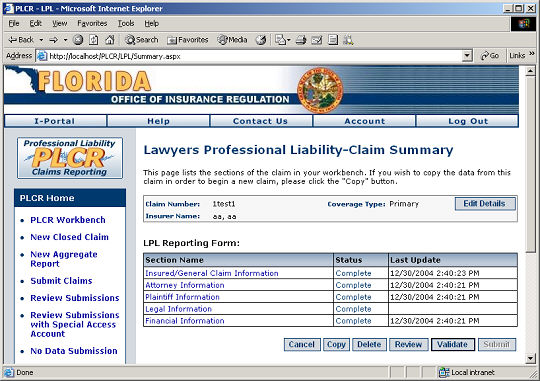


Adding A Special Access AccountThere are three options associated with this screen: (1) Cancel, (2) Add New Request, (3) Delete. Choosing Cancel will return the user to the previous screen. Choosing Delete requires that the user have selected one of the Insurer An entity licensed by OIR under Chapter 624 (p. III) or Chapter 641 (p. I) of the Florida Statutes.'s Name values and would like to delete this insurer from the table. Lastly, Add New Request will bring the user to the screen in Figure 1.2.
Figure 1.2 lists the available Insurers for which a Special Access Account Submission may be filed. At this point the user should select the Insurer's Name that corresponds to the Special Access Account they wish to create. Selecting the Insurer name and choosing Next will lead the user to Figure 1.3.
Figure 1.3 presents the interface for the upload of an Authorization Document. This document is required for processing of a Special Access Account Request. Choosing the Browse button will allow the user to select a document from their current machine (Floppy, CD-ROM, Hard Drive, etc.). When the desired file is selected the path and filename will appear in the Document to Upload box, after these data have appeared, please click the Upload button and the user will be presented with the screen seen in Figure 1.4.
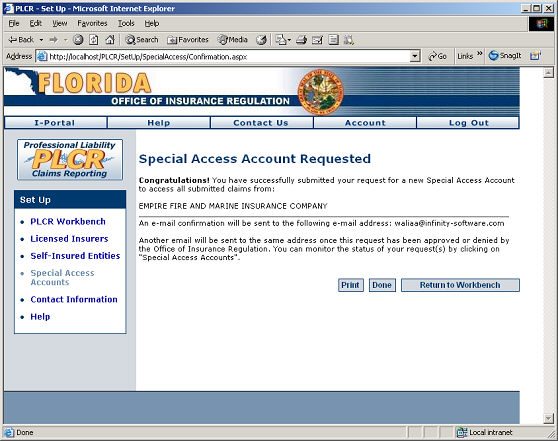
At this point the submission process is complete. If there is need for multiple submissions please repeat the process described above for each request. Figure 1.4
|
|
|